|
Changzhou Mingjie Building Material Equipment Manufacturing Company
|
High Efficient AAC Block Production Line Concrete Block Moulding Machine
| Place of Origin: | Zhejiang, China (Mainland) |
|
|
|
| Add to My Favorites | |
| HiSupplier Escrow |
Product Detail
High Efficient AAC Block Production Line Concrete Block Moulding Machine
AAC mould
High Efficient AAC Block Production Line Concrete Block Moulding Machine
AAC mould
Mould
1. Function
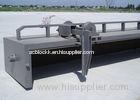
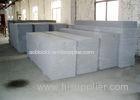
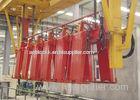
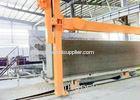
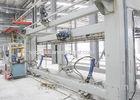
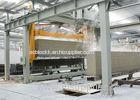
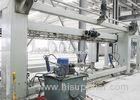
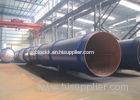
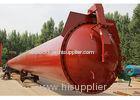
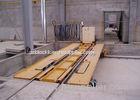
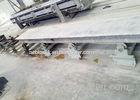
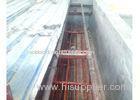
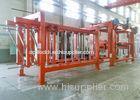
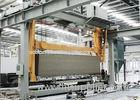
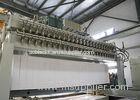
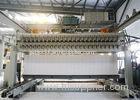
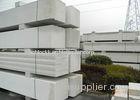
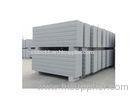
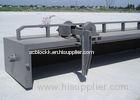
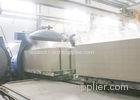
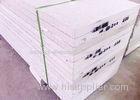
The mould (see attached drawing) is a special device for block pouring. The mortar delivered from the pouring mixer is poured into the inner chamber of the mould. Then, after fermentation and curing, with the mould frame stripped off, these materials become blocks waiting to be cut.
2. Technical specifications
a) Maximum overall dimensions:
4630 mm (length) × 1712 mm (width) × 1015.5 mm (height)
b) Dimensions of poured blocks (net size after cutting)
4200 mm (length) × 600 mm (width) × 1200 mm (height)
c) Mass: 1955.18 kg (including the side plate weighing 512 kg)
d) Quality of sealing strips: GCB6-89 foam rubber
3. Structure
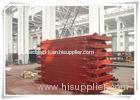
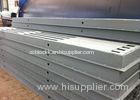
The mould is composed of four units: mould frame, side plate (bottom plate), clamping arm and wheels
a) Mould frame:
The mould frame is a framework made of steel sections and plates. It features good rigidity and small weight.
There are turnover shafts on either end and wheels at the bottom. There are also sealing strips intended to prevent leakage at the time of pouring. The mould has a reasonable structure and can turn over freely.
b) Side plate (bottom plate):
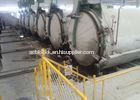
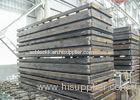
The side plate is welded from steel sections and plates. Very good in rigidity, it will not become deformed easily after it is put into the autoclave.
c) Clamping arm:
The clamping arm is composed of the pinch roller, the arm and the rotating shaft. It is driven by the manual control on the turnover hoisting device.
4. Operation
The mould can work only when the mould frame, the side plate (bottom plate) and the clamping arm are put together into an integral body. Besides, the mould cannot work without the turnover hoisting device.
a) Mould frame:
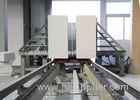
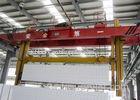
The mould frame is the main body of the mould. The side plate is mounted on the mould frame and clamped by the clamping arm. Then when the mould is turned over ninety degrees, it will be possible to do pouring. After the pouring is finished, the mould will be lifted in the air by the turnover hoisting device, turned over ninety degrees so that the block stands upright, and carried to the cutting table. Then the clamping arm will be loosened, and the mould frame stripped off. After that, the block will be cut.To start the next cycle, the mould frame will have the side plate mounted on it, be tightened by the clamping arm and turned over ninety degrees. Now it has become a mould capable of receiving the pouring once again.
b) Side plate:
The side plate is a wall plate on the opening side of the mould frame. The mould will be turned over ninety degrees after it is tightened by the clamping arm and sealed tightly with sealing strips. On the cutting table, when the mould is stripped off, the side plate will become the bottom plate of the block.
c) Clamping arm:
The manual control on the turnover hoisting device can drive the clamping arm to turn ninety degrees, thus making the clamping arm tightened or loosened.
5. Assembly
The mould is already assembled when it is delivered ex works. The only thing to do on site is to put sealing strips on the opening side of the mould frame. The adhesive for mounting the sealing strips is chloroprene glue (303 super glue) or phenolic-butyronitrile glue (Tiemao 705 glue, or JX-5).
6.Inspection and adjustment
a) Inspection:
i. After the mould frame and the side plate are put together, the clamping arm should be able to turn freely without jamming.
ii. After the side plate is clamped tight and the mould is turned over ninety degrees, there should be no leakage from the sealing strips.
b) Adjustment
i. If there is too big a gap between the clamping arm and the side plate or serious jamming occurs when the clamping arm turns, adjust the distance between the clamping arm and the mould frame.
ii. If there is leakage from the sealing strips, adjust the pinch roller on the clamping arm.
7. Maintenance
a) Daily care
i. Remove all residual mortar and dirt.
ii. Coat the inner chamber with lubricant after the mould frame and the side plate are put together.
iii. Lubricate the wheels periodically.
b) Maintenance:
Replace damaged sealing strips in good time.
8. Safety:
Do not allow anybody to stand in the work area in the process of pouring and stripping off the mould.


